- All
- Product Name
- Product Keyword
- Product Model
- Product Summary
- Product Description
- Multi Field Search

Views: 0 Author: Site Editor Publish Time: 2026-08-10 Origin: Site


Bending a nail during a framing or trim project is rarely just a stroke of bad luck. It represents a predictable mechanical failure caused by eccentric loading, improper tool selection, unsupported workpieces, or overwhelming material resistance. Bent fasteners compound project costs quickly on the job site. They waste materials, compromise structural shear strength, and leave ugly marks on finish surfaces. They also increase user fatigue and cause unnecessary schedule delays when you have to stop and extract damaged steel. Preventing these failures requires a systematic approach rather than just swinging harder. You must master proper strike mechanics and prepare materials correctly before the first blow. You also need a solid understanding of specific tool metallurgy and geometry to match the hardware to the task at hand.
Off-Axis Force is the Primary Culprit: Bending occurs when the hammer face strikes the nail head at an angle, transferring kinetic energy laterally down the shank rather than vertically.
Tool Selection Dictates Accuracy: The specific weight, handle length, and face texture of a claw hammer directly influence swing control and strike precision.
Workpiece Stability is Critical: Unsupported materials that "bounce" during a strike absorb kinetic energy, forcing the nail shank to buckle.
Material Density Requires Adaptation: Driving fasteners into high-density woods or knots necessitates friction-reduction techniques or pilot holes to prevent shank failure.
Technique Scales Efficiency: Proper grip and swing mechanics reduce user fatigue and ensure repeatable, straight drives across high-volume fastening tasks.
Nails buckle when kinetic energy travels outside their vertical axis. We call this eccentric loading. A perfect strike lands completely perpendicular to the head, transferring all force directly down the shank into the wood. When you strike the head at a slight angle, you introduce diagonal force. The steel shank cannot absorb this lateral energy. It yields and bends instantly. The swing arc dictates this impact angle. Your elbow acts as a hinge during the swing. If you stand too close to the work, your swing arc bottoms out early, causing the face to strike at an upward angle. If you stand too far back, you strike at a downward angle. Consistent, straight drives require a swing path that aligns perfectly with the fastener shaft at the exact moment of impact.
Unsupported materials ruin driving efficiency. Nailing a rim joist to a floor joist that is slightly bowed creates a gap. Striking the wood pushes it into that gap, causing the material to flex backward upon impact. We refer to this as workpiece bounce. This deflection interrupts the transfer of kinetic energy. The wood absorbs the blow and immediately springs back against the tip. This opposing force travels back up the shank while you are still driving downward. The conflicting energy forces the steel to buckle in the middle. You must always block or brace your workpiece. Rigid resistance ensures the kinetic energy pushes the hardware through the material rather than folding it in half.
Deflection Scenario | Mechanical Result | Field Solution |
|---|---|---|
Mid-span 2x4 wall stud | Wood bows inward, absorbing 40% of strike energy. | Install temporary horizontal blocking before nailing. |
Unbacked electrical box | Box chatters against the stud, bending the mounting brads. | Hold a heavy scrap block behind the box during installation. |
Bowed floor joist | Joist springs back after impact, buckling the 16d shank. | Use a bar clamp to pull the joist tight to the rim before striking. |
Wood density heavily influences fastener success. Softwoods like spruce and pine offer minimal resistance, allowing the steel to part the fibers easily. Hardwoods like oak, maple, and hickory feature dense lignin structures that fight penetration. Irregular grain patterns and hard knots deflect the tip off its intended path. Once the tip veers off-axis, the shank follows and bends, regardless of your strike accuracy. The friction coefficient also increases dramatically as the steel enters dense fibers. The wood grips the lower shank tightly. If you strike the head with heavy force while the lower half is trapped, the exposed upper shank will collapse under the compressive load.
Every fastener has a specific compressive strength threshold based on its wire gauge and metallurgy. The thickness dictates how much force the shank can handle before yielding. Material composition plays a massive role on the job site. Bright steel framing hardware resists bending better than soft galvanized roofing hardware. Thin brads buckle under moderate force, while heavy-duty structural hardware withstands aggressive strikes. You must match the gauge and metallurgy to your specific application.
Identify the structural requirement of the joint to determine the minimum required shear strength.
Assess the density of the framing lumber or trim material.
Choose a thicker gauge, such as a common nail, for dense engineered lumber like LVLs.
Select a thinner gauge, such as a box nail or sinker, for standard softwoods to prevent splitting the end grain.
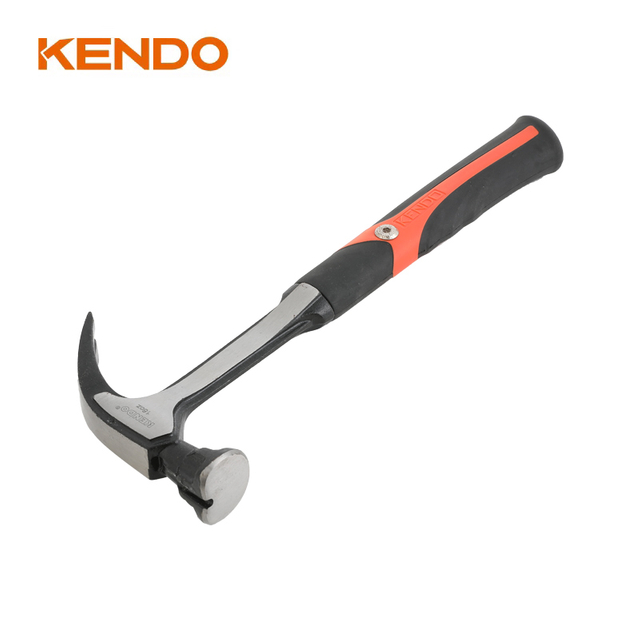
Understanding claw hammer design and function is essential for consistent results. The geometry, weight distribution, and face profile of your tool directly impact your ability to drive hardware straight without fatigue.
Face texture determines grip and surface protection. A milled, or waffle, face features a grid pattern machined into the steel. This texture grips the head aggressively. It prevents glancing blows during rapid rough framing. However, a milled face will destroy exposed wood if you miss the strike. A fully polished smooth face claw hammer is optimal for finish work. It protects delicate baseboards and casing from surface damage. Most quality tools feature a crowned face. This slight convexity concentrates the driving force directly onto the center of the head, compensating for minor swing angle variations.
New tools often present a unique challenge. Manufacturers coat smooth faces with a protective clear lacquer to prevent rust during shipping. This factory finish is extremely slick and causes the tool to slip off the metal. You can fix this easily on the job site. Lightly scuff the new smooth face with 80-grit sandpaper. This creates micro-friction without damaging the crowned profile. The scuffed surface grips the metal just enough to prevent lateral slipping during the drive.
Tool weight requires a strategic decision based on physics. A 22-ounce steel head hits hard but tires your arm quickly. A tired arm leads to sloppy swings and bent steel. Force equals mass times acceleration. You can swing a 14-ounce or 16-ounce head much faster than a heavy framing tool. The increased velocity makes up for the lower mass, delivering the same driving force. More importantly, a lighter tool gives you better physical control over the swing arc, keeping the face flat at impact. If you constantly bend hardware late in the day, dropping down in head weight usually improves your accuracy and solves the problem.
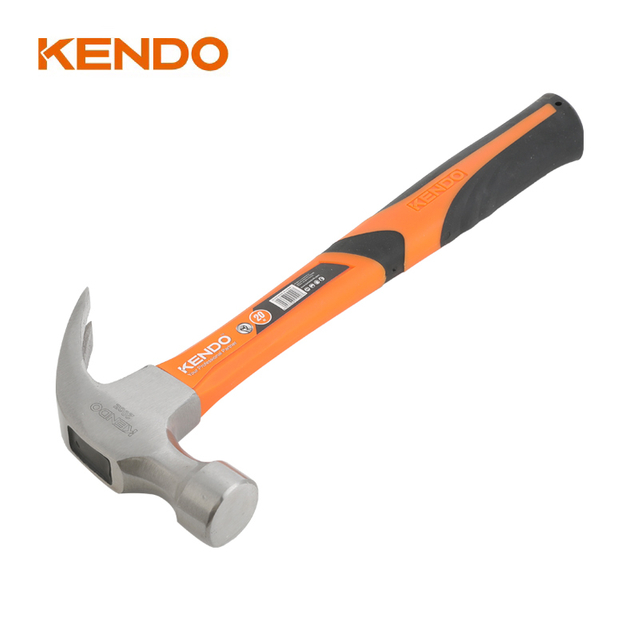
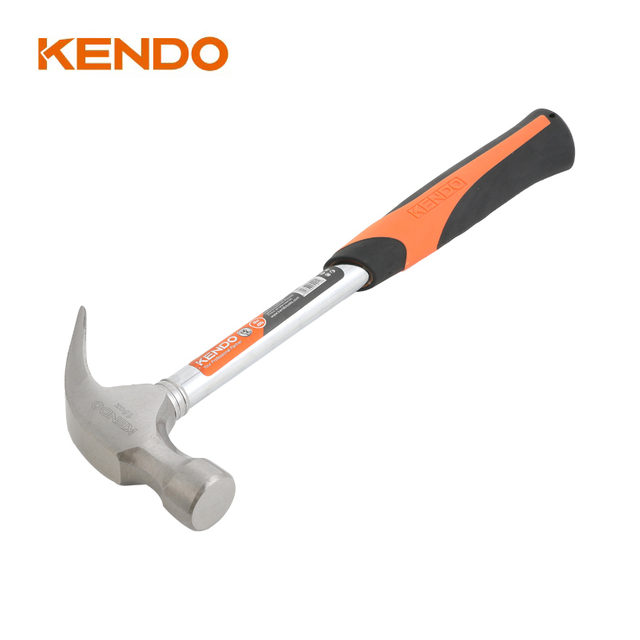
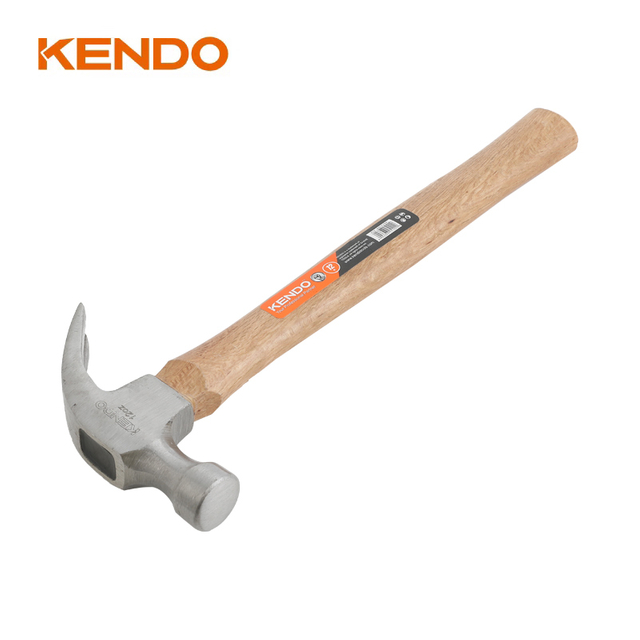
Handle composition affects vibration transfer and swing balance. Hickory handles absorb shock naturally. They dampen the sharp vibrations that cause elbow pain during heavy framing. The grain orientation must run parallel to the head for maximum strength. Fiberglass handles offer excellent durability and moderate shock absorption, making them great for all-weather work. Solid steel handles provide maximum destructive power for prying boards, but they ring like a tuning fork when you strike metal. That heavy vibration travels straight up your arm. Poorly balanced tools lead to premature wrist fatigue. When your wrist tires, your swing path degrades. Choose a handle material that balances durability with ergonomic comfort.
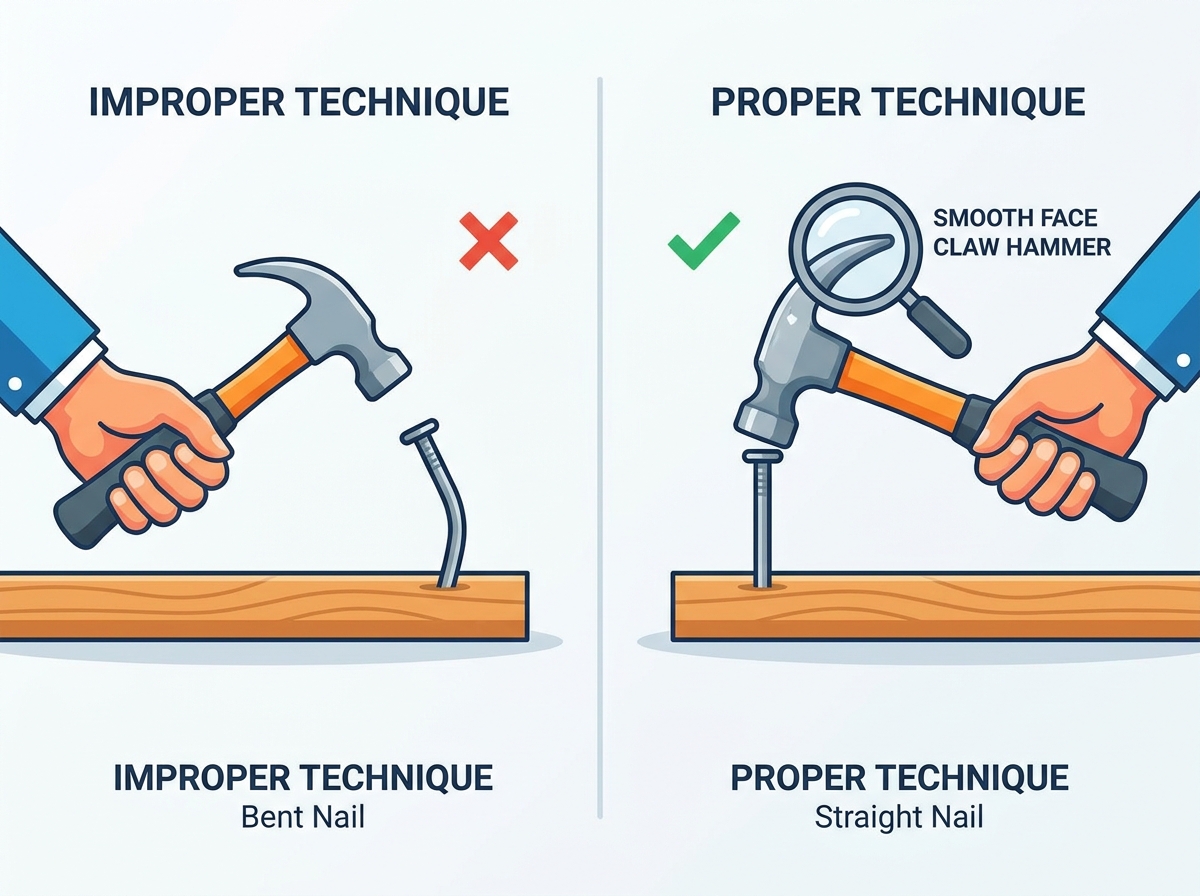
Your grip dictates your leverage. Hold the handle near the base. This maximizes the swing radius and generates proper kinetic energy. Many users make the mistake of "choking up" near the head. Choking up alters the natural swing arc and forces you to push the tool rather than swing it. You must drive the motion smoothly to maintain accuracy.
Grip the base of the handle firmly but without squeezing too tight, using a natural handshake grip.
Keep your wrist straight and locked to ensure the face remains flat.
Initiate the swing from your elbow for short drives, or your shoulder for heavy framing.
Let the weight of the head do the work on the downward stroke rather than forcing it.
Follow through the strike zone rather than stopping abruptly at impact.
How you hold the hardware matters immensely. Do not pinch it near the base against the wood. Hold the shank near the top, just under the head. This stabilizes the upper section and prevents lower-axis buckling during the initial strikes. Use a "tap-tap-drive" cadence. Deliver two light taps to set the tip into the grain and establish your trajectory. Once it stands independently, remove your fingers. Apply full force only after verifying the trajectory is straight. Rushing the initial setting phase almost always results in a crooked drive.
Small hardware presents unique challenges. Brads, paneling tacks, and masonry hardware bend under minimal lateral stress. Your fingers often get in the way, forcing you to strike at an awkward angle to avoid smashing your thumb. Use needle-nose pliers to hold high-risk hardware. The pliers grip the shank tightly, keeping it perfectly vertical. This allows you to swing your claw hammer with full confidence and a flat face. Dedicated magnetic guides also work exceptionally well. They support the entire length of the shank, completely eliminating the risk of buckling while keeping your fingers safely out of the strike zone.
Dense materials require mechanical preparation. Driving directly into oak, maple, or hickory usually ends in failure. You must drill pilot holes when working with these dense hardwoods. Pilot holes are also mandatory when fastening near the ends of boards to prevent splitting. Follow strict sizing rules for pilot holes. The drill bit should match the diameter of the solid shank. Do not include the width of any gripping threads or rings in your measurement. A properly sized pilot hole removes the dense wood fibers that cause friction, allowing the steel to slide in smoothly while retaining maximum holding power.
Fastener Size | Approximate Shank Diameter | Recommended Hardwood Pilot Bit |
|---|---|---|
4d Finish | 0.072 inches | 1/16 inch |
6d Finish | 0.092 inches | 5/64 inch |
8d Common | 0.131 inches | 1/8 inch |
16d Common | 0.162 inches | 5/32 inch |
Friction destroys driving efficiency. As the steel penetrates deep into the wood, friction heats the shank and grips it tightly. You can reduce this friction with simple job site lubrication. Apply a small amount of beeswax or paraffin wax directly to the lower half of the shank. The wax melts slightly from the friction heat, coating the steel and allowing it to glide through dense fibers. Avoid using liquid oils or automotive lubricants. Oils will seep into the surrounding wood grain, causing permanent dark stains on finish work. Oils can also degrade the long-term holding power by preventing the wood fibers from gripping the steel.
Bent hardware compromises structural ratings. Building codes rely on the specific shear strength of undamaged steel. When steel bends, the crystalline structure stretches on one side and compresses on the other. Hammering it flat does not restore its original strength. The metal remains permanently compromised. For decorative trim, a straightened brad might suffice. For load-bearing framing, joist hangers, or structural sheathing, you must extract the damaged steel. Replace it with a new, straight piece to maintain code compliance and ensure the structural integrity of the assembly under heavy shear loads.
Working near board edges carries a dual risk. You might bend the steel, or you might split the wood entirely. Wood fibers act like microscopic wedges. A sharp tip pushes these fibers apart, creating outward pressure that splits the board. When the board splits, the shank loses support and bends sideways. You can prevent this by blunting the tip. Place the head on a hard surface like concrete or an anvil. Tap the sharp point once with your tool. A blunt tip punches a clean hole through the wood fibers, breaking them rather than wedging them apart. This relieves the outward pressure, prevents splitting, and keeps the shank tracking straight.
Working outside your optimal ergonomic zone ruins accuracy. Installing ceiling blocking or overhead joist hangers forces you to swing against gravity. Your wrist naturally wants to roll backward, causing diagonal strikes. To maintain accuracy, reposition your body rather than contorting your arm. Stand directly under the work area. Use a lighter tool to maintain swing velocity without exhausting your shoulder. Employ the tap-tap-drive cadence strictly. Short, controlled strikes work better overhead than long, sweeping swings. If the angle remains too awkward, switch to a palm nailer or use structural screws instead.
You can sometimes salvage a partially driven piece of hardware. Assess the damage first. If the bend is minor and located near the head, you can often correct it. Strike the side of the head laterally to bend it back into vertical alignment, then resume driving straight down. If the bend occurs deep in the shank, the steel is compromised. You must extract it safely.
Stop striking immediately once the shank buckles to avoid driving the bent metal flush.
Slide the claws fully under the head.
Place a scrap block of wood under the tool head to act as a fulcrum.
Pull back on the handle slowly to draw the steel straight up without snapping it.
Discard the damaged hardware and start with a new piece in a slightly different location.
Preventing bent hardware requires a combination of applied physics, proper technique, workpiece stabilization, and appropriate tool selection. You must control your swing arc to eliminate eccentric loading. You must block your materials to prevent energy-sapping bounce. Understanding how wood density and metallurgy interact allows you to adapt your approach before failure occurs. Tool selection matters immensely. Match the head weight to your physical strength and the task at hand. Choose a milled face for rough framing grip, or a smooth face for delicate finish work.
Audit your current tool pouch and replace any tools with chipped faces or loose handles.
Switch to a lighter head weight if you experience wrist fatigue or consistently bend hardware late in the day.
Keep a block of beeswax in your tool belt for lubricating hardware in dense lumber.
Practice the tap-tap-drive cadence on scrap wood to build muscle memory for a locked-wrist swing.
A: Bending often occurs due to material density, hidden knots, or an unsupported workpiece. If the wood flexes during the strike, it creates a "bounce" that rebounds kinetic energy into the shank, causing it to buckle. Using a gauge that is too thin for the wood density will also cause bending.
A: Yes, lightly sanding a new smooth face tool with 80-grit sandpaper removes the slick factory clear coat. This creates micro-friction on the steel, which prevents the face from slipping off the head and causing a diagonal, bending strike.
A: A lighter tool swung faster often provides better control than a heavy tool swung slowly. Force equals mass times acceleration. If a heavy tool causes wrist fatigue, your swing path will degrade. Dropping to a lighter weight improves accuracy and reduces bent hardware.
A: Hardwoods require preparation. Drill a pilot hole matching the solid shank diameter. You can also lubricate the lower half of the steel with beeswax or paraffin to reduce driving friction. Always ensure you are using a heavy-gauge piece designed for dense materials.
A: For structural framing or load-bearing applications, you must extract and replace it. Bending compromises the steel's shear strength, violating building codes. For non-structural or aesthetic trim work, you can hammer it flat if extracting it would cause severe damage to the finished wood surface.
A: A milled face features a textured grid that grips the head, preventing slips during rapid, aggressive rough framing. A smooth face lacks this texture, making it ideal for finish carpentry because it will not leave waffle-pattern dents on delicate wood surfaces if you miss a strike.