- All
- Product Name
- Product Keyword
- Product Model
- Product Summary
- Product Description
- Multi Field Search

Views: 0 Author: Site Editor Publish Time: 2026-06-16 Origin: Site


Understanding the anatomy of a hand tool is critical for evaluating its durability, safety, and project suitability. Many professionals overlook this granular level of detail. They view striking tools as simple metal blocks. Purchasing the wrong hammer configuration directly leads to damaged materials. It also accelerates user fatigue and guarantees premature tool failure. An incorrect face texture ruins delicate trim work. A weak handle material snaps under heavy leverage. You must choose your equipment wisely to protect your work quality.
We will deconstruct the tool's components to provide a robust framework. This approach ensures confident, evidence-based procurement. You will learn how each part functions independently. We will explore how handle materials absorb shock. You will discover how to match specific head weights to your daily tasks. By the end, you will know exactly how to evaluate a claw hammer before adding it to your toolkit.
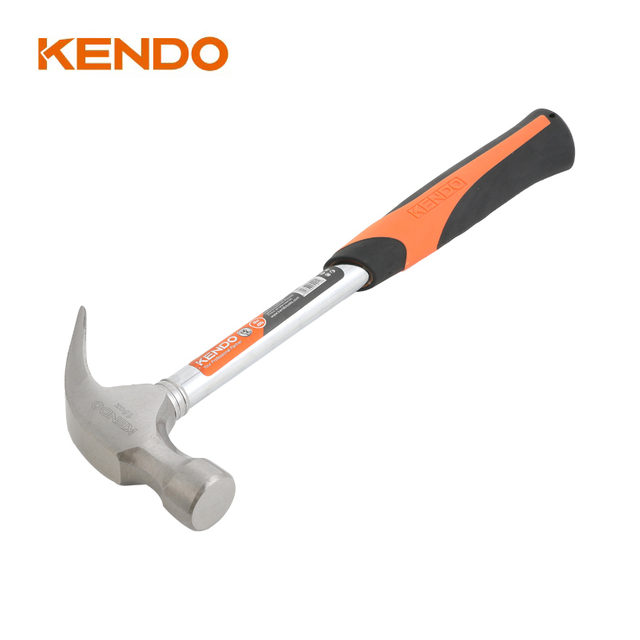
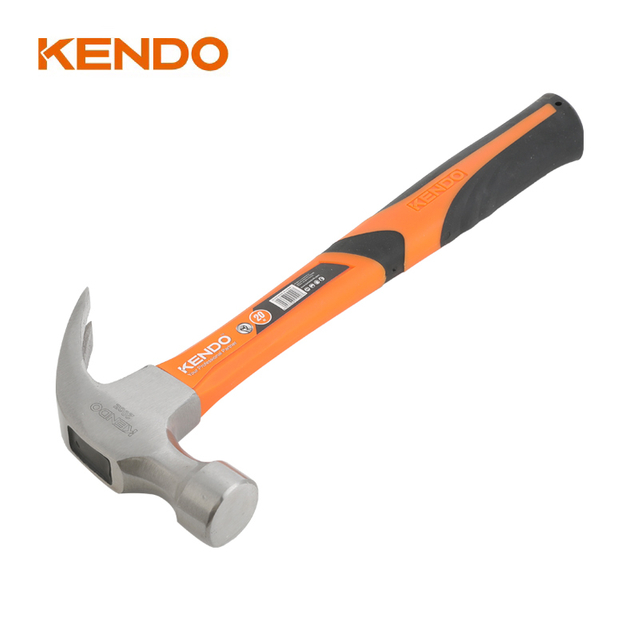
The Head & Face: Dictate application; smooth faces are for finish work to prevent marring, while milled (waffle) faces grip nails for heavy framing.
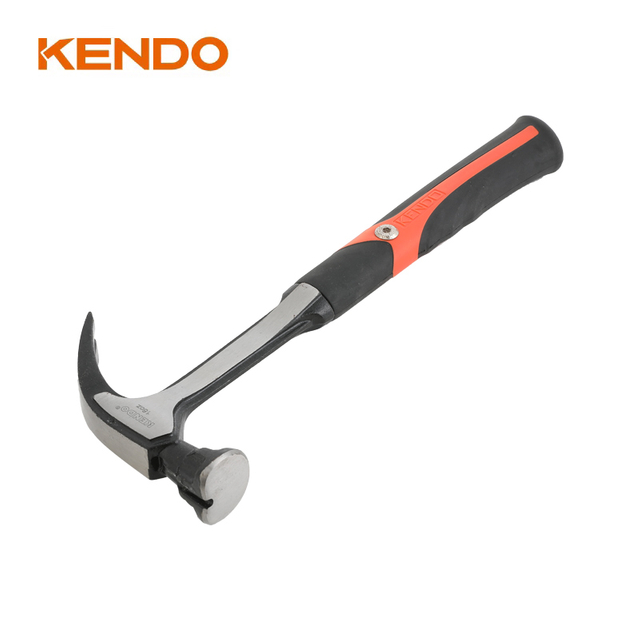
The Claw Geometry: Curved claws maximize leverage for nail extraction; straight (rip) claws function as wedges for demolition and prying.
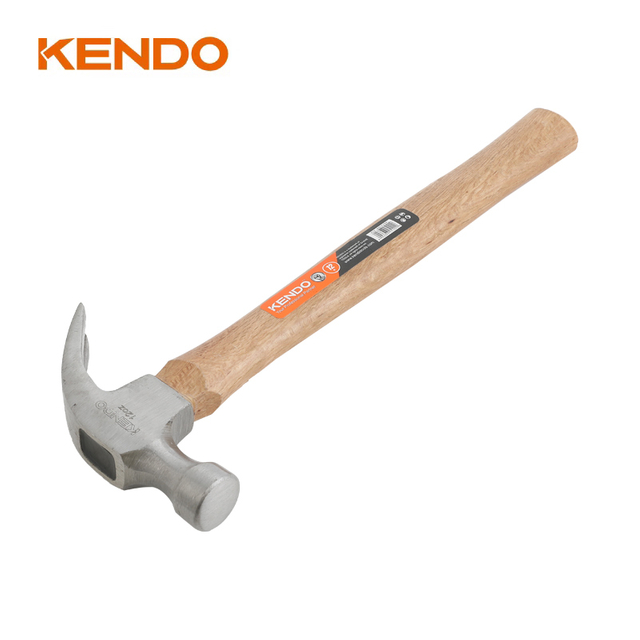
The Handle & Core: Material choice (wood, fiberglass, or solid drop-forged steel) determines the balance between shock absorption and absolute structural integrity.
The Assembly Point: The "eye" where the handle meets the head is the primary failure point in multi-piece hammers, requiring careful inspection of epoxy or wedging.
We need to map the basic physical structure first. Each component plays a specific mechanical role during operation. Every part also carries a potential failure risk. You must evaluate these elements to ensure safety and longevity. Manufacturers design these tools using specific metallurgical standards. Recognizing these design choices separates professional-grade tools from cheap alternatives.
Manufacturers typically form the head from drop-forged steel. You must look for continuous forging lines. Avoid models showing visible casting seams. Cast metal often contains microscopic air pockets. These defects compromise structural integrity over time. Weight dictates the absolute striking force. It also dictates your daily fatigue level. Head weights generally range from 10 to 32 ounces. Heavier heads drive fasteners much faster. They also tire your shoulder muscles much sooner. You must balance kinetic output against human endurance.
The face serves as the primary striking surface. The bell forms the tapered section directly behind it. The bell acts as a critical structural buffer. It prevents glancing blows from chipping the cheek. The face itself requires precise heat treatment. Proper tempering prevents a dangerous condition called mushrooming. Mushrooming occurs when the metal physically flattens and splays outward. This creates a severe shrapnel hazard on job sites. A properly hardened face resists deformation while absorbing repeated impacts.
The neck connects the bell to the main hammer body. It transfers impact energy safely down into the handle. The cheeks form the large, flat sides of the head. Never use the cheeks for striking. Manufacturers machine the cheeks much thinner to save weight. Hitting hard objects against the cheek risks shattering the metal completely. This represents a serious safety and compliance risk. Many job site safety manuals explicitly forbid cheek striking. Treat the cheeks as structural sidewalls, not impact zones.
Two-piece designs feature a distinct eye. This opening receives the handle material. It represents the most critical structural vulnerability. Assess the connection method carefully before buying. Wood handles rely on wooden and steel wedges for friction. Fiberglass models use industrial epoxy potting. Both methods require regular visual inspection. A loose head turns a hand tool into a dangerous projectile. Discard any tool showing gaps or cracked epoxy near the eye.
Component | Primary Mechanical Role | Key Inspection Point |
|---|---|---|
Head | Delivers kinetic energy to the fastener. | Check for drop-forged stamps; avoid casting seams. |
Face & Bell | Strikes the target and buffers glancing blows. | Look for uniform tempering and zero mushrooming. |
Cheek | Provides lateral structural integrity. | Ensure no impact marks or structural cracks exist. |
Eye | Anchors the handle to the steel head. | Verify epoxy or wedge integrity; ensure zero wiggle. |
Different business problems require different tool specifications. Rough construction demands aggressive power. Finish carpentry requires gentle precision. You must align your tool selection with the specific material you handle. We will categorize these solutions based on standard industry workflows. Choosing the right face and weight prevents ruined workpieces. It also streamlines your daily operations.
Smooth faces remain essential for finish carpentry. They also dominate cabinetry and interior trim work. A smooth striking surface avoids indenting the delicate workpiece. It allows you to drive a nail flush without leaving a severe waffle pattern behind. This saves countless hours of sanding and filling.
Milled faces feature a textured grid pattern. The industry often calls this a waffle face. Manufacturers design them exclusively for rough framing. The textured grid prevents the hammer from sliding off nail heads. It grips the fastener during high-force, rapid strikes. This prevents bent nails. It also protects your fingers from glancing blows. Never use a milled face on finished hardwood.
Tool weight dictates project pacing and physical strain. You must select the lowest weight capable of driving your required fasteners efficiently.
16 oz – 20 oz: General-purpose and finishing. This weight class prioritizes user control. It significantly minimizes wrist and elbow fatigue. These models handle standard trim nails, light framing, and household maintenance flawlessly.
22 oz – 28+ oz: Framing and demolition. This class prioritizes maximum kinetic energy per strike. They drive massive spikes with minimal swings. However, they require much higher user stamina. They can strain the median nerve over long shifts.
Claw shape defines the secondary function of the tool. You must address specific use-cases and operational mechanics. A hammer drives nails, but its claw dictates how it handles everything else. Let us compare the two dominant configurations.
The standard curved claw dominates general maintenance toolboxes. Its mechanism relies on a pronounced physical curve. This curve acts as a highly efficient rolling fulcrum. As you pull back on the handle, the curve rolls smoothly against the wood.
This design delivers maximum upward leverage. It excels at extracting stubborn nails. It pulls them straight up, minimizing handle strain. The rolling action protects the underlying wood from severe gouging. This makes it ideal for general carpentry. Trim crews rely on curved claws for delicate extraction work.
The rip claw features a straighter, much thicker profile. It lacks the smooth rolling fulcrum. Instead, it functions primarily as a wedge or an impact chisel. You swing the rip claw directly into structural gaps.
It readily drives between joined materials. You then apply lateral force to pry them apart. Demolition crews use rip claws to tear apart drywall and studs. Framing crews use them to lever heavy boards into place. This geometry handles heavy-duty disassemblies perfectly. However, pulling nails with a rip claw often bends the fastener sideways. It also requires more brute strength.
Using a curved claw to pry apart heavy concrete forms. The thin tips will snap.
Using a rip claw to extract finishing nails. You will gouge the trim board severely.
Striking the back of a rip claw with another hammer. This creates deadly metal shrapnel.
Handle selection impacts scalability, longevity, and user health. You must evaluate how the material handles vibration reduction. Repeated impact sends shockwaves up your arm. Poor materials accelerate joint wear. Excellent materials protect your connective tissues. Let us evaluate the three main categories.
Wood remains a traditional favorite among seasoned professionals. Hickory specifically dominates this category.
Pros: Hickory offers excellent natural shock absorption. The cellular structure dampens impact vibrations effectively. You can easily replace a broken wood handle in the field. Wood also provides a highly customizable grip. You can sand it to fit your hand perfectly.
Risks: Wood remains vulnerable to environmental degradation. Humidity fluctuations cause swelling and shrinking. This loosens the head over time. Wood handles also splinter easily under heavy prying loads. They cannot withstand severe demolition abuse.
Fiberglass provides a modern middle-ground solution. Manufacturers mold resin around thousands of glass fibers.
Pros: They boast an incredibly high strength-to-weight ratio. Fiberglass resists moisture completely. Temperature changes do not affect its dimensions. It handles overstrikes better than solid wood. It provides moderate shock absorption.
Risks: The epoxy bonds at the eye can fail gradually. You cannot repair a compromised fiberglass shaft. Once the handle cracks or the head loosens, you must discard the entire tool. Sunlight exposure can also degrade the resin over several years.
One-piece steel tools represent the ultimate in structural endurance. Manufacturers forge the head and handle from a single continuous billet.
Pros: They offer unmatched durability and shear strength. There is no "eye" joint to fail. You can pry heavy framing lumber without fear of snapping the neck. They easily survive extreme demolition environments.
Risks: Steel transmits the highest level of shock directly to the user. It sends jarring vibrations straight into the elbow and shoulder. This can cause long-term repetitive strain injuries.
Mitigation: You must evaluate the applied synthetic grip. Premium steel models feature thick rubber shock-dampening sleeves. These grips tune out harmful resonance. Never buy a bare-steel handle.
Material | Vibration Dampening | Prying Strength | Best Application |
|---|---|---|---|
Hickory Wood | Excellent | Low to Moderate | Finish Carpentry, Cabinetry |
Fiberglass | Good | Moderate | General Construction, DIY |
Forged Steel | Poor (Relies on Grip) | Maximum | Heavy Framing, Demolition |
You need actionable shortlisting logic to make final decisions. Procurement requires strict inspection frameworks. You cannot rely on brand names alone. You must test the physical characteristics of the tool in person. Follow these evaluation steps to guarantee quality.
A high-quality model will balance naturally just below the eye. You can test this by resting the neck on your index finger. It should sit relatively level. Poor balance causes over-swinging. A top-heavy tool forces your wrist to work harder during the backswing. Proper center of gravity ensures the tool does the work, not your tendons.
Always check for a "drop-forged" stamping on the cheek. Avoid high-carbon cast iron models entirely. Cast iron can be extremely brittle. It poses a severe shrapnel risk under heavy impact. Forged steel aligns the grain structure of the metal. This makes it highly resistant to shattering.
Inspect the molding where the rubber meets the shaft carefully. This applies strictly to steel or fiberglass models. Peeling edges indicate poor manufacturing tolerance. Gaps trap moisture and promote hidden rust. The rubber must bond seamlessly to the underlying core material.
Align the tool specification directly with the primary project type. Standardize your procurement efficiently. Buy 16oz smooth-faced, curved-claw wood models for trim crews. Supply your demolition teams with 22oz milled-faced, rip-claw steel models. Match the tool anatomy to the daily physical reality of the job site.
A premium striking tool is a precision-engineered lever. It is not just a block of heavy metal. Understanding its physical anatomy ensures you buy the correct configuration. The right tool enhances your safety and work quality immediately.
Successful procurement balances the face texture, claw geometry, and handle material. You must weigh these elements against the specific demands of your workload. This strategy maximizes efficiency on the job site. It also minimizes tool replacement cycles. Evaluate the metallurgical integrity and test the balance before buying. If you have any further questions about bulk procurement or specialized applications, please feel free to contact us today.
A: Technically, nothing. The cheek is purely a structural component connecting the face to the eye. Striking objects with the cheek voids manufacturer warranties immediately. It poses a severe safety hazard due to brittle failure risks. The metal is thin there and shatters easily under direct impact.
A: A magnetic nail starter features a milled slot and a small magnet on the top of the head. It allows the user to set a nail in hard-to-reach places. You can secure a nail at high framing points using a single one-handed strike. It vastly improves overhead safety.
A: In wood handles, fluctuations in humidity cause the wood fibers to shrink and swell continuously. This eventually loosens the securing wedge. In fiberglass models, repeated over-strikes crack the internal epoxy bonding at the eye. An over-strike happens when you miss the nail and hit the handle directly.