- All
- Product Name
- Product Keyword
- Product Model
- Product Summary
- Product Description
- Multi Field Search

Views: 0 Author: Site Editor Publish Time: 2026-08-03 Origin: Site


Reclaiming lumber, restoring antique furniture, or correcting a framing mistake often comes with a high-stakes challenge. You need to extract embedded fasteners without marring the surrounding material or succumbing to physical exhaustion. The physics of leverage dictate that the force required to pull a nail transfers directly into the wood beneath the tool. Without intervention, the steel head crushes wood fibers, leaving permanent dents, gouges, or splinters. High-volume reclamation, like pulling nails from old floor joists, quickly leads to severe user fatigue if you rely on improper techniques.
Successfully extracting fasteners requires shifting from brute force to mechanical advantage. This guide breaks down the physics of extraction, tool selection criteria, beginner tips for avoiding common mistakes, and professional mitigation strategies to ensure zero-defect material recovery.
Leverage Distribution is Mandatory: Direct contact between a steel hammer head and a wood surface will cause crushing; introducing a sacrificial fulcrum (like a wood block or putty knife) disperses the pressure.
Tool Geometry Dictates Outcome: A curved claw hammer provides a superior rolling fulcrum for extraction compared to straight-claw (rip) hammers, reducing the risk of nail snapping or surface gouging.
Progressive Extraction Prevents Breakage: For long, large, or rusted nails, pulling in stages by stacking shims prevents lateral bending and minimizes the expansion of the nail hole.
Material Density Matters: Softwoods (pine, cedar) require wider pressure-distribution blocks than hardwoods (oak, maple) to prevent compression damage.
Understanding the physics of leverage is the first step toward mastering non-destructive nail removal. A hand tool functions as a classic first-class lever. You apply effort to the handle, which pivots on a fulcrum located at the steel head. This pivoting action lifts the load, which is the embedded fastener. The longer the handle, the less effort you must exert to generate the upward force required to break the friction holding the shank in place.
Wood damage occurs when the pressure applied at the fulcrum point exceeds the compressive strength of the wood fibers. When you pull back on a handle, the entire extraction force concentrates on a tiny surface area where the steel meets the board. Steel is unyielding. Wood is porous and compressible. This severe mismatch in material hardness guarantees that the wood will crush under the localized pressure, leaving a permanent half-moon indentation.
To evaluate extraction techniques effectively on the job site, we must define strict success criteria for non-destructive removal. Meeting these benchmarks ensures the reclaimed material remains structurally sound and aesthetically pristine.
Maintain zero surface indentations or marring on the surrounding wood grain.
Prevent splintering or tear-out around the fastener entry hole.
Achieve intact extraction, completely avoiding snapped heads that demand destructive digging.
Minimize user fatigue during repetitive, high-volume extraction tasks.
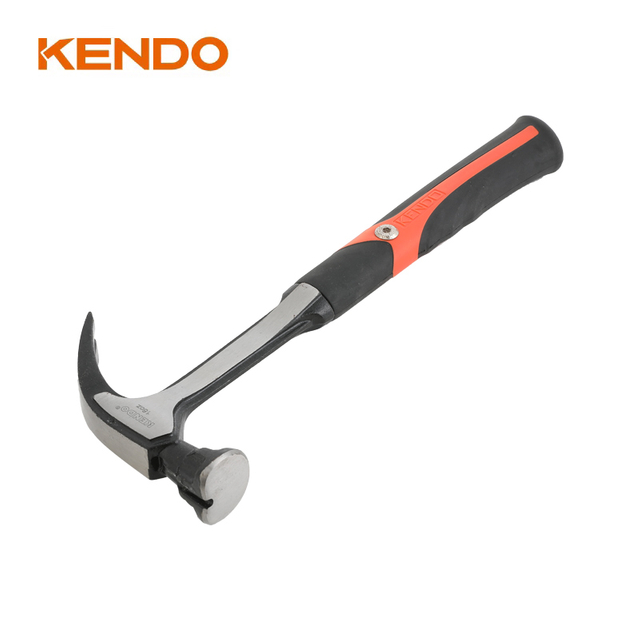
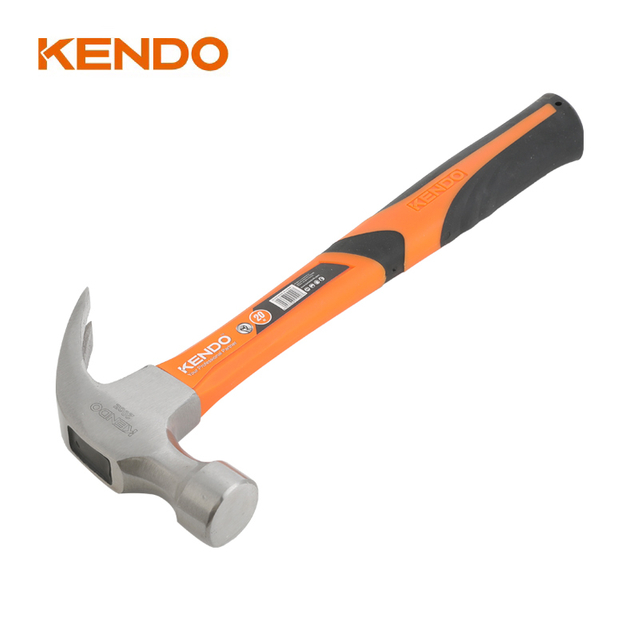
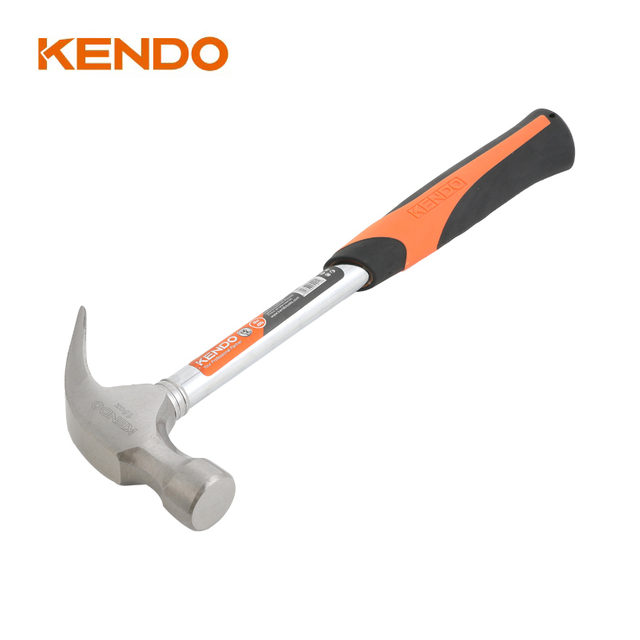
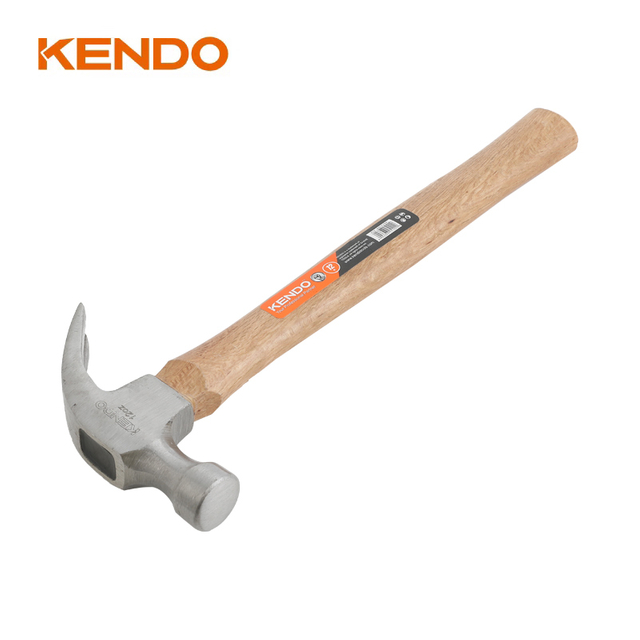
Hand tools are engineered for specific force applications. General striking tools, such as mallets, ball-peen hammers, and club hammers, are designed exclusively for delivering blunt impact. They lack extraction geometry entirely. Understanding how a claw hammer differs from a general hammer reveals its dual-purpose nature. It combines a hardened striking face for driving fasteners with a specialized rear assembly engineered for high-leverage extraction.
The effectiveness of the tool relies heavily on the internal geometry of its rear assembly. The inner edges form a precise V-notch featuring a sharp bevel. This bevel is not designed merely to sit underneath the fastener head. Instead, it is engineered to bite directly into the soft steel shank. This biting action creates a secure mechanical lock, preventing the tool from slipping off the fastener during high-tension pulls. If this bevel wears down, the tool becomes a safety hazard.
Tool geometry dictates the extraction outcome. A curved claw hammer provides the optimal shape for non-destructive removal. The pronounced curve creates a continuous, rolling fulcrum. As you pull the handle back, the pivot point shifts smoothly along the curve. This motion pulls the fastener straight up and out of the hole, minimizing lateral stress on the surrounding wood fibers.
Rip hammers feature straight rear assemblies designed for aggressive demolition and prying boards apart. While highly effective for tearing down drywall or splitting lumber, their straight geometry creates a harsh, static pivot point. Using a rip hammer for extraction requires excessive handle pull. This sharp angle forces the fastener to bend sideways as it exits, widening the hole and significantly increasing the likelihood of gouging the surface.
The handle material impacts both leverage and user endurance on the job site. You must match the material to the specific demands of your project.
Handle Material | Vibration Dampening | Durability | Best Use Case |
|---|---|---|---|
Hickory Wood | Excellent | Moderate (Can splinter under extreme prying) | Finish carpentry, shop work, low-volume extraction. |
Fiberglass | Good | High (Weather resistant) | General construction, outdoor framing, daily site use. |
Solid Steel | Poor | Maximum (Nearly indestructible) | Heavy demolition, concrete forms, extreme prying. |
Handle length directly correlates to mechanical advantage. A longer handle multiplies the force applied to the fastener head. For high-volume extraction tasks, such as reclaiming floor joists, a 16-inch framing handle reduces the physical effort required per pull compared to a standard 13-inch finish handle, mitigating user fatigue over extended work periods.
Before applying any leverage, evaluate the fastener. Check if the head is flush with the surface, deeply countersunk, or protruding. Look for signs of rust or galvanic corrosion. Rust bonds the steel to the wood fibers, massively increasing extraction friction. Determine the fastener type. A thin finish brad requires delicate handling to prevent snapping, while a thick framing spike demands maximum leverage.
Clear the immediate area around the head. Remove old paint, dried glue, or debris blocking the V-notch. The inner bevels must achieve a clean, secure bite on the metal shank. If the tool cannot grip the steel properly, it will slip under tension, potentially damaging the wood or causing a hand injury.
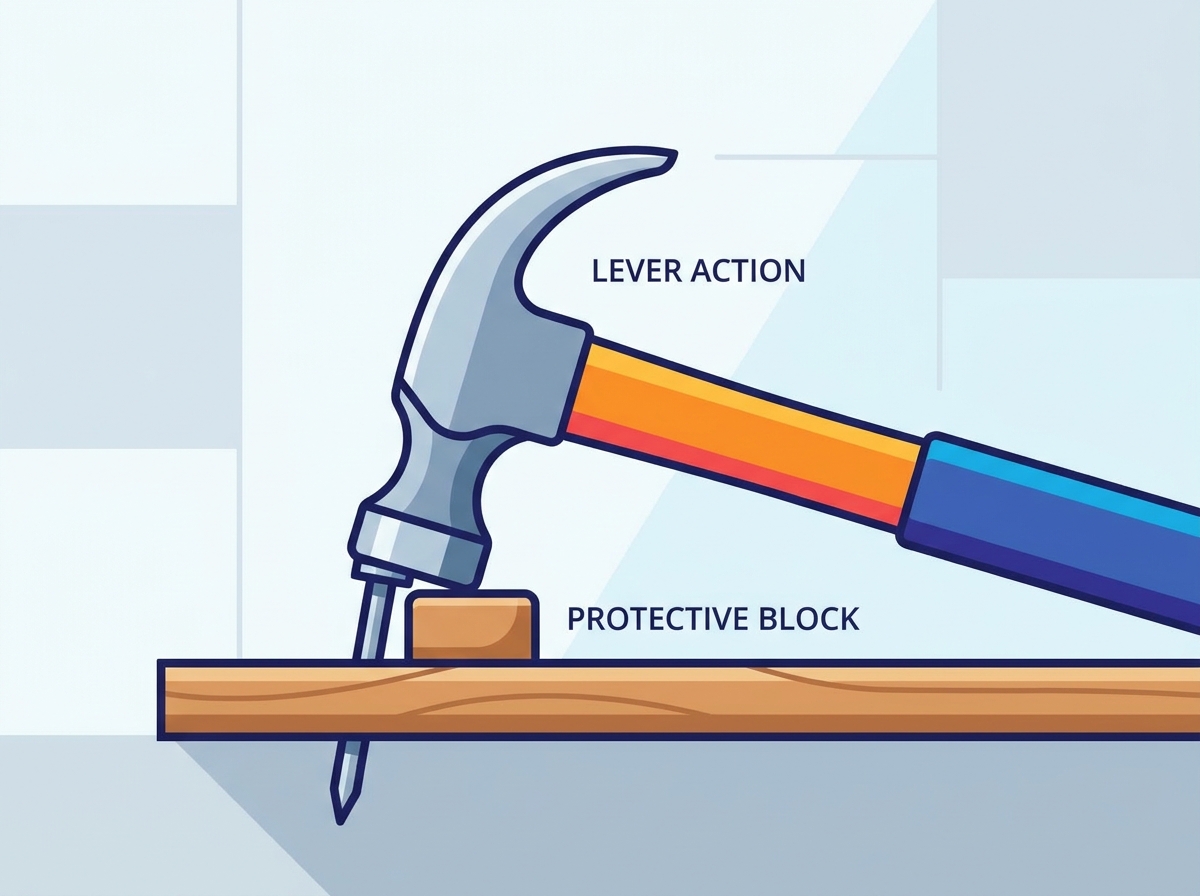
The core of non-destructive removal relies on introducing a pressure barrier. The scrap wood technique involves placing a 1/4-inch to 1/2-inch thick piece of scrap wood directly beneath the steel head. When you pull the handle, the tool presses into the scrap wood instead of the valuable project piece. The scrap wood absorbs the compressive force and distributes the load over a wider surface area.
For highly finished surfaces, such as polished antiques or soft cedar siding, even scrap wood might leave a micro-impression. In these scenarios, substitute the wood block with a wide metal putty knife. Slide the putty knife under the tool head. The rigid metal blade distributes the extraction pressure across a broad, flat plane, ensuring zero indentations on the delicate surface below.
Executing the pull requires strict adherence to mechanical geometry. Follow these steps to ensure a clean extraction.
Slide the V-notch around the fastener base, wedging the head deep into the inner bevels until you feel the steel bite into the shank.
Apply steady, downward pressure on the handle, focusing on rolling the tool on its curved head rather than yanking the handle backward.
Keep the handle perfectly aligned with the direction of the fastener to avoid lateral movement; pulling sideways will instantly bend the shank and splinter the exit hole.
Stop pulling when the fastener is halfway out to prevent the extraction angle from becoming too severe.
Insert a thicker block of scrap wood under the tool head to reset the fulcrum height.
Re-engage the V-notch lower on the exposed shank and finish the pull straight up.
Grip failure occurs when the tool cannot gain purchase on the fastener. Finishing brads often have heads too small for standard V-notches to grip. Rusted heads frequently snap off under initial tension, leaving a jagged shank flush with the wood. When the standard grip fails, you must alter your strategy.
Integrate locking pliers to solve grip failure. Clamp the jaws of the locking pliers tightly onto the exposed shank. Ensure the pliers are locked securely to prevent slipping. Slide the V-notch under the rounded jaw of the locking pliers. Place your sacrificial block under the tool head. Pry against the pliers. The pliers act as an artificial head, allowing you to extract the headless shank smoothly.
Large spikes and heavy-duty framing fasteners generate immense friction. Overcoming this friction requires strategic leverage escalation. If the fastener resists standard pulling, do not force a wooden handle, as it will snap. Instead, increase the fulcrum height. Use a thicker wooden block combined with the metal wedge of the tool to change the pivot angle.
If the fastener remains stubborn, transition to heavy leverage tools. A longer pry bar provides significantly more torque than a standard hand tool. Slide a wide piece of scrap wood under the pry bar's heel to protect the original surface, and apply steady body weight to break the initial friction bond.
Wood density dictates how you manage the pressure barrier. Softwoods possess low compressive strength and are highly vulnerable to denting. Hardwoods resist denting but create severe extraction friction.
Wood Type | Examples | Primary Challenge | Recommended Barrier Strategy |
|---|---|---|---|
Softwood | Pine, Cedar, Spruce | High risk of deep surface denting. | Use a wide, 1/2-inch thick plywood block to disperse pressure over a massive area. |
Medium Hardwood | Walnut, Cherry | Moderate friction, moderate denting risk. | Use a standard 1/4-inch scrap block or a wide metal putty knife. |
Dense Hardwood | Oak, Maple, Hickory | Extreme friction; shanks often snap. | Apply localized heat (soldering iron) to the head to break lignin bonds before pulling. |
When working with dense hardwoods, the fibers grip the shank tightly. Touching a hot soldering iron directly to the head for a few seconds sends heat down the shank, breaking the lignin bond holding the steel. Allow it to cool slightly, then extract the fastener using the standard block method.
While a standard claw hammer handles precision work and low-volume extraction perfectly, massive reclamation projects demand specialized hardware. Removing hundreds of fasteners from reclaimed joists or breaking down dozens of pallets will quickly cause severe ergonomic strain. Recognizing when to escalate your tooling preserves project efficiency and physical health.
Understanding the landscape of extraction tools allows you to match the hardware to the specific demands of your reclamation project.
Cat's Paw (Nail Puller): Delivers immense extraction power. You drive the sharp prongs directly into the wood under the head using a striking tool. This is highly effective but inherently destructive. Reserve the cat's paw for rough framing where surface damage is irrelevant.
End-Cutting Pincers: Feature wide, sharp jaws that grip the shank securely. Roll the rounded head of the pincers against a fulcrum block to lever the fastener out. They are exceptionally useful for headless shanks that defeat standard V-notches.
Flat Pry Bar: Features a wide, flat heel. This broad footprint provides better natural pressure distribution on delicate surfaces when a standard curve isn't enough. They excel at removing baseboards and trim without crushing the drywall behind them.
Pneumatic Nail Remover: Essential for large-scale reclamation. These tools use compressed air to punch the fastener out from the sharp end, clearing the board instantly without surface prying. Use these when processing hundreds of boards to avoid physical exhaustion.
Executing high-tension pulls carries inherent physical and material risks. The most common risk is the tool slipping and striking the wood surface. This happens when the V-notch loses its sharp edge. To mitigate this, periodically file the inner edges of the bevels with a bastard file to maintain a sharp bite. Never use a tool with chipped, rounded, or deformed inner edges.
Snapping the handle under extreme load poses a severe safety hazard. Wooden handles have strict leverage limits. Recognize these limits on the job site. If a structural fastener, like a lag bolt or a heavy spike, refuses to move, do not bounce your body weight on the handle. Switch to a solid steel pry bar designed for extreme torque.
Ergonomic strain and repetitive motion injuries frequently occur during high-volume extraction. Pulling fasteners requires forceful wrist and forearm exertion. To mitigate injury, optimize your working height. Place reclaimed boards on sawhorses rather than bending over the ground. Use a tool with a longer handle to maximize mechanical advantage, and rotate between different tools to utilize different muscle groups throughout the day.
Removing fasteners without damage relies entirely on pressure distribution and pulling geometry. By introducing a sacrificial barrier and leveraging the natural curve of the tool, you can extract stubborn shanks while preserving the integrity of the wood.
Inspect your current tool's V-notch for wear and file the inner bevels sharp before starting your next project.
Cut a dedicated set of 1/4-inch and 1/2-inch plywood scraps to keep in your tool belt as pressure barriers.
Test your extraction setup on a hidden section of the workpiece to verify the wood density can handle the fulcrum pressure.
Stage locking pliers and a wide metal putty knife at your workstation for immediate access when dealing with headless fasteners.
A: You can use end-cutting pincers, locking pliers, or a flat pry bar. Grip the shank tightly with the pincers or pliers, place a scrap piece of wood underneath the tool to act as a fulcrum, and roll the tool backward to lever the fastener out safely.
A: For low-volume finish work, a curved hand tool paired with a wood block is best. For high-volume rough reclamation, such as processing old joists or pallets, a pneumatic puncher or a long steel pry bar is the most efficient choice.
A: Clamp locking pliers tightly onto the exposed shank. Slide your extraction tool under the jaw of the locked pliers. Place a sacrificial wood block under the tool's pivot point, and pry upward, using the pliers as an artificial head.
A: Dents occur because the steel head concentrates all the pulling force onto a tiny pivot point, exceeding the wood's compressive strength. You must place a scrap wood block or a metal putty knife under the tool head to distribute this pressure.
A: Yes. A flat pry bar often works better for delicate wood because its wide, flat heel naturally distributes pressure over a larger surface area. Always pair it with a thin piece of scrap wood or cardboard for maximum surface protection.
A: Do not dig into the wood. Instead, use a nail punch to drive the finish brad completely through the back of the board. If the back is inaccessible, use a hollow screw extractor to core around the shank, though this leaves a hole requiring a wood plug.
A: Large framing fasteners require high leverage. Use a long-handled pry bar rather than a standard hand tool. Pull the shank halfway, then insert a thick wooden block under the pry bar to reset the leverage angle. This prevents bending and tearing the wood.