- All
- Product Name
- Product Keyword
- Product Model
- Product Summary
- Product Description
- Multi Field Search

Views: 0 Author: Site Editor Publish Time: 2026-01-12 Origin: Site


Did you know that even a high-precision digital caliper can give inaccurate readings if not used properly? That's right — the issue often isn't with the tool, but with how it's handled. In industries where precision is non-negotiable, such as engineering, manufacturing, and DIY machining, even a 0.01mm error can lead to costly mistakes.
Inaccurate measurements can result in product defects, system failures, and wasted materials. Fortunately, with the right knowledge and technique, you can avoid these pitfalls. Whether you're using a digital caliper, vernier caliper, or dial caliper, mastering the correct operation is critical.
In this post, you'll learn five essential caliper tips that will help you get the most accurate measurements and maintain the longevity of your tool. We'll also cover the latest trends in caliper technology, compare models, and answer the most frequently asked questions to help you make informed decisions.
| Tip | Summary |
|---|---|
| 1. Keep your caliper clean | Dust and debris can drastically affect precision. |
| 2. Always zero before use | Prevents offset errors and ensures consistency. |
| 3. Apply consistent pressure | Avoid distortion by using stable force. |
| 4. Don't measure hot/moving parts | Expansion or vibration can skew results. |
| 5. Calibrate regularly | Maintains long-term accuracy and performance. |
One of the most overlooked aspects of accurate caliper use is cleanliness. A caliper is a sensitive measuring instrument, and even microscopic particles can interfere with the jaws' contact, leading to false readings.
| Contaminant | Impact on Measurement |
|---|---|
| Dust | Prevents full closure of jaws |
| Oil or Grease | Causes slippage and misreads |
| Metal Shavings | Can scratch or deform the scale |
Wipe down the jaws with a lint-free cloth before and after use.
Avoid using compressed air, as it may push debris further into the instrument.
Store your digital caliper in a protective plastic case to prevent damage.
Failing to zero your caliper is one of the quickest ways to introduce error. Most digital calipers come with a dedicated "zero" button to reset the measurement baseline.
The zero point acts as the reference for all subsequent measurements. If your caliper starts from an incorrect baseline, all your readings will be inaccurate—even if the internal mechanisms are functioning perfectly.
Close the jaws completely and ensure they're clean.
Press the "ZERO" button and wait for the display to read 0.00 mm (or 0.000 inches).
Repeat if necessary to confirm.
Pro Tip: Zero your digital caliper in the same unit system you plan to use throughout the task—either metric or imperial (inch).
Applying varying pressure when measuring can compress or distort the object, especially if it's made of soft material. This is particularly important when measuring plastic, rubber, or aluminum components.
| Force Level | Potential Error |
|---|---|
| Too High | Object compression or jaw deflection |
| Too Low | Incomplete contact with surface |
| Inconsistent | Variable readings across samples |
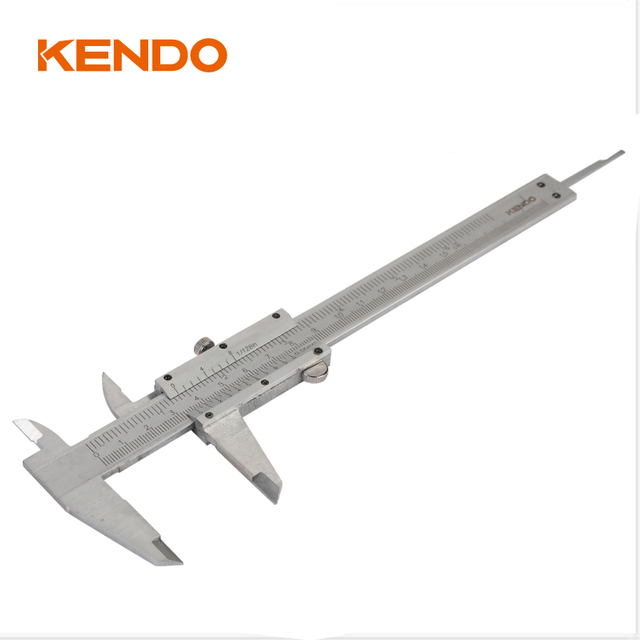
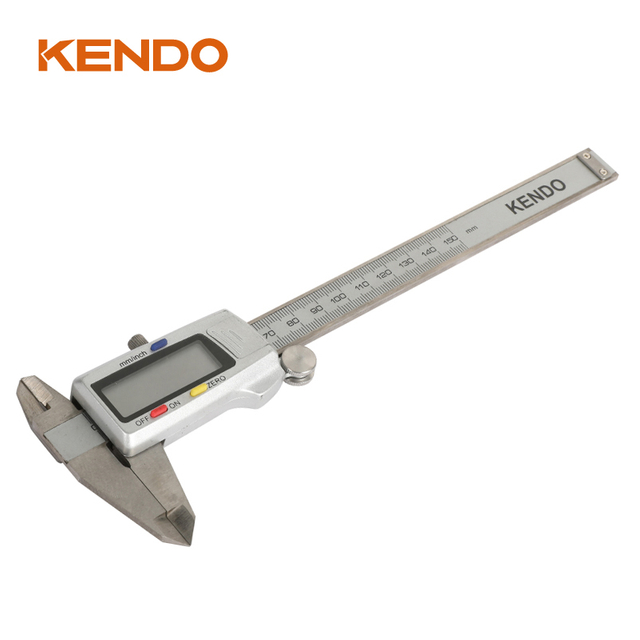
Practice using one hand — many digital calipers like the KENDO model are designed for single-hand operation.
Use the thumbwheel to gently slide the jaws.
Avoid using force to "snap" the jaws shut.
Accurate measurements require a stable environment. Measuring freshly machined or moving parts introduces variables that affect precision.
| Material | Expansion Rate (per °C) |
|---|---|
| Steel | ~0.012 mm/m/°C |
| Aluminum | ~0.023 mm/m/°C |
Even a 10°C difference can alter measurements by 0.1mm or more in large parts—enough to cause tolerance rejection in precision industries.
Wait until the part cools to room temperature before measuring.
Secure the part in a vice or fixture to eliminate vibration.
Use a climate-controlled environment if possible.
Even the most high-end digital caliper will drift over time due to wear, environmental conditions, or battery issues.
| Usage Frequency | Calibration Suggestion |
|---|---|
| Daily/Industrial | Every 3 months |
| Weekly/DIY | Every 6–12 months |
| Occasional Use | Before each major project |
Replace batteries regularly (KENDO's caliper has auto-shutdown after 5 minutes to save power).
Check for jaw alignment by closing and inspecting for gaps.
Verify against a gauge block or standard reference tool.
A caliper is more than just a measuring tool — it's an extension of your craftsmanship. Whether you're a professional machinist or a weekend DIYer, mastering its use not only improves your accuracy but also enhances the quality of your work.
By following these five essential tips, you can:
Eliminate common sources of measurement error
Extend the usable life of your measuring tools
Improve productivity and reduce waste
Need help choosing the right caliper for your needs? Contact us — our team is here to help.
A caliper is used to measure internal, external dimensions, depth, and step distances with high precision. It's commonly used in mechanical engineering, woodworking, and various manufacturing industries.
High-quality digital calipers like the one from KENDO offer ±0.02mm accuracy for measurements under 100mm, with a resolution of 0.01mm.
Yes! Most modern digital calipers allow toggling between metric (mm) and imperial (inch) units. KENDO's model supports both.
Yes. Even new tools should be verified against a known standard before critical use.
Keep it clean, store in its protective case, avoid moisture, and calibrate regularly.